
Step-by-Step Guide: VW ECU Cloning via Autel Programming Tools
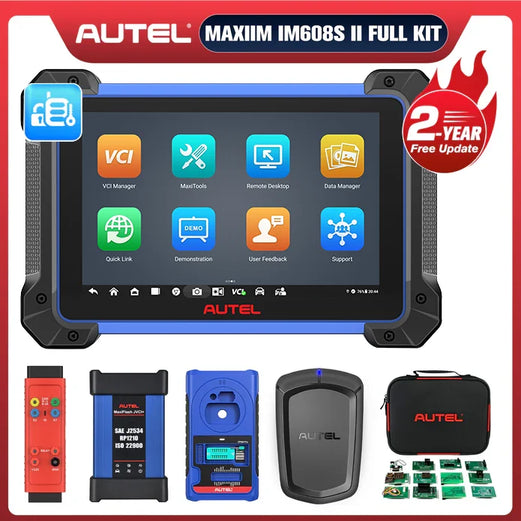
Autel MaxiIM IM608S II Full Kit
The ultimate all-in-one IMMO & key programming solution. Features advanced ECU coding, full system diagnostics, and comprehensive IMMO capabilities.
View Full Kit DetailsElectronic Control Units (ECUs) are essential components in modern vehicles, managing engine performance, transmission control, braking, and safety systems. ECU cloning is the process of copying data from an existing unit to a replacement, which is often necessary when a module fails or when data recovery is required.
While dealership replacements can be expensive, professional automotive technicians can use Autel key programming tools to perform this task cost-effectively. This guide details the workflow for cloning a Volkswagen ECU using the Autel IM608S II and G-BOX3.
Preparations Before Getting Started
1. Confirm Tool Support
Verify your tool supports the ECU cloning feature. Supported Autel tools include the IM508S, IM508S Pro, and IM608S II, along with accessories such as the XP400 Pro and G-BOX 3. Check support via network search, lookup tables, or the tablet interface.
2. Confirm Decryption Tool
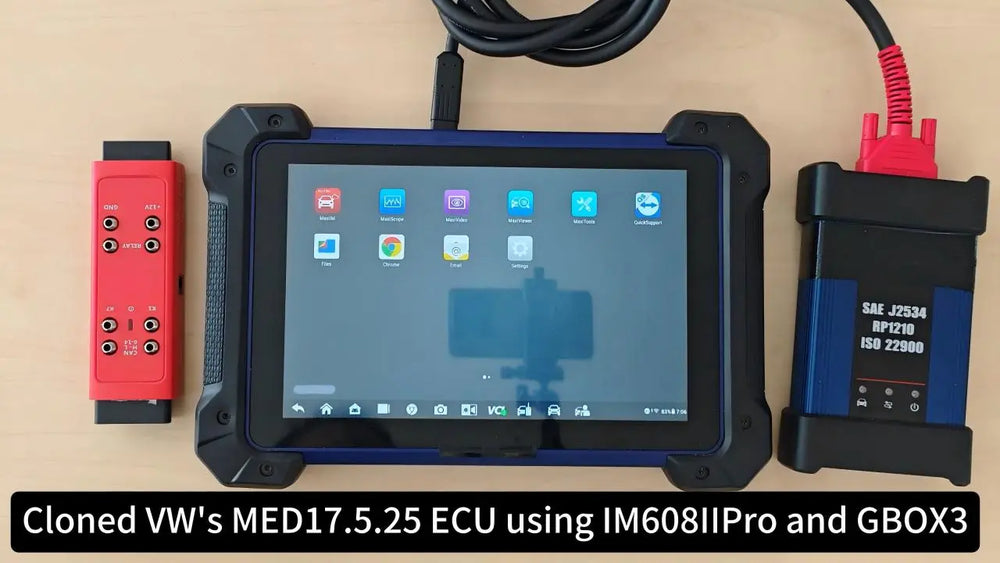
Due to VW’s security protocols, you must have the Autel MaxiFlash JVCI+ and G-BOX3 on hand to assist with decryption and programming.
3. Prepare a Brand-New ECU
Verify the exact model of your original ECU and ensure you have a brand-new ECU of the same model. Mismatched models will result in data corruption and cloning failure.

4. Safety Preparations
For safety and ease of operation, it is recommended to completely remove the faulty ECU and perform the work on a workbench rather than inside the vehicle.
Step-by-Step Guide: VW ECU Cloning via Autel IM608S II
This tutorial references a MED17.5.25 ECU; procedures may vary slightly by model.
Step 1: Turn on the Autel IM608S II. Navigate to: MaxiIM > IMMO > Volkswagen > Expert selection > IMMO parts > engine > Bench > BOSCH > MED17.5.25 TC1782.
Step 2: Refer to the wiring diagram on the screen. Connect the IM608S II and MaxiFlash JVCI+ using a data cable, link the VCI to the G-BOX3 using an OBD II extension cable, and connect the ECU to the G-BOX3 using the configuration shown. Ensure all wiring is correct before powering on the G-BOX3.
Step 3: Read the EEPROM and FLASH data from the original ECU and save the files to the device.
Step 4: Power off the G-BOX3, disconnect the old ECU, and wire the new ECU to the G-BOX3 as per the manual.
Step 5: Read the EEPROM and FLASH data from the new ECU and save them using unique filenames to distinguish them from the original data.
Step 6: Select "EEPROM cloned data conversion." Upload the original FLASH data, the new ECU's EEPROM/FLASH data, and the original vehicle’s FLASH data to generate the new EEPROM data. Save the result.
Step 7: Write the newly generated EEPROM and the saved FLASH data from the old ECU to the new ECU.
Step 8: Reinstall the ECU into the vehicle and verify system communication.
Instructional Video
Conclusion
ECU cloning requires careful attention to detail and the correct equipment. By following these steps and working in a safe, controlled environment, you can successfully clone a VW ECU.
Featured Equipment: Disclaimer: This guide is intended for automotive technicians. Always consult the specific vehicle manufacturer’s service manual before performing any ECU repairs.
